Unity: This update supports Unity 5, 2017, 2018, 2019, 2020, 2021, 6 and future unity versions. Tuanjie: This update supports all tuanjie versions include futuer versions.
=========================================================== New ===========================================================
Tessellation Support(URP) [Unity and Tuanjie]
*To use this need to change the compilation target to 4.5 under the ‘Settings’ category then click ‘Enable Tessellation’.
ZWrite(New Option For Outline) (URP) [Unity and Tuanjie]
*A separate ZWrite control for outline.
UV Set(URP and HDRP) [Unity and Tuanjie]
*Selective UV Set.
Render Order(URP and HDRP) [Unity and Tuanjie]
*To adjust the object render order, Infront or Behind.
ZTest(URP) [Unity and Tuanjie]
*There is also a separate ZTest for outline.
Layers To Exclude[New Option For DeNorSob Outline] (URP) (Unity 6.0 To Later) [Unity]
Support Unity 6.4 and 6.5[Unity]
Normals support for decals(URP and HDRP) [Unity and Tuanjie]
Deferred+ Support(URP) [Tuanjie]
Support Tuanjie 1.8.0 to later/future versions.[Tuanjie]
Implicit truncation of vector type.(Unity 6.1) [Unity]
DOTS Instancing Error(Unity 6.0 to Later) [Unity]
Show Normal is not checkbox option.(Smooth Object Normal Option) (Unity 6.1 to Later) [Unity]
Forward+ is not working.[Tuanjie]
=========================================================== Note and warning ===========================================================
*For RealToon URP and RealToon HDRP:
After you update, click the Refresh Settings at the bottom of the RealToon Inspector,
This will refresh the settings properties and apply it properly.
[Next Update] For now none.
[Patch Release] For now none
[Updates for Re-Update v5.014 Package] It is still work in progress.
I think this might be perfect for a racing game I had in mind. You should change the current asset store photo and replace it with the one of the glowing toys. Or even the anime character in the white outfit holding the giant gun on her back?
How’s this compare with Toony Colors Pro 2 and Unity-chan Toon Shader? Since RealToon is made with Shader Forge, that means I’m able to analyse, modify and learn from it?
Are there any values you recommend? Could you help me in any way with this?
I’m using the Taichi character model with custom hairs. The hairs themselves are just a solid color as I am trying to achieve cell-shading.
This is roughly what I want:
I’m not seeming to have very good luck tweaking the values. Notice how in these hairs it has a smooth black outline around the edges of the hair, with some rim lighting I believe (halo) around the top of the head.
[Face, Skin, Cloths & Others] [/B][/I] 1a.Check “Main Texture Color Shadow”. - This will use the main/base texture and make it dark for shadow. - No need another texture for shadow color. 1b.Adjust “Shadow Intensity”. 2a.Use “ShadowT” (If you need/want more shadow details). - For more shadow details like the hair and cloth. - Texture must be White & Black. - You can use Gradient or Flat. 2b. Check “ShadowT On Light”. 2c Adjust “ShadowT Intensity”. 2d.Adjust “Shadow Size”. - How much shadow to show ******************************************************************************************************** [Hair] [Gloss] 1a. use “Gloss Texture”. - I called this custom gloss, be sure the texture is black & white. - white means visible/gloss. - black means invisible/nothing. 1b.Adjust “Gloss Texture Intensity” all the way to 1. - You can also blend Default Gloss & Gloss Texture by adjusting it. ******************************************************************************************************** [For Rim Light] 1a. Use “Fresnel”. 1b. Adjust “Fresnel Intensity” 1c.Check “Fresnel On Light”. 1b Check “Fresnel Hard Edge”. 1c.Adjust “Fresnel Fill”. ******************************************************************************************************** [Result]
******************************************************************************************************** [For RealToon V4 Shader] [Directional Light] [You can also do this in point/spot light but there are additional tweaks to do.] Important: 1.Adjust “Intensity Multiplier” or Directional Light Intensity if the scene is too bright. ====================================================================== [Face, Skin, Cloths & Others] [/B][/I] [For Separate Texture For Shadow] 1a. Use “Shadow Color Texture”. - Use a separate dark version of the main/base texture. 1b. Adjust “Intensity” all the way to 1. 1c. Adjust “Add Light”. - Be sure “Intensity Multiplier” is not equal to 0 or “Source Color” not black. ******************************************************************************************************** [For Use The Main/Base Texture For Shadow] 1a. Use “Shadow Color Texture”. - Use the main texture. 1b. Adjust “Intensity” all the way to 1. 1c.Adjust “Power” to 1.4 or 1.6 or you pref. 1d. Adjust “Add Light”. - Be sure “Intensity Multiplier” is not equal to 0 or “Source Color” not black. 2a.Use “ShadowT” (If you need/want more shadow details). - For more shadow details like the hair and cloth. - Texture must be Dark - Gray & White. - Dark - Gray means shadow/visible. - White means invisible/nothing. - You can use Gradient or Flat texture. 2b. Check “Show On Light”. 2d.Adjust “Shadow Size”. - How much shadow to show ******************************************************************************************************** [Hair] [Gloss] 1a. use “Gloss Texture”. - I called this custom gloss, be sure the texture is black & white. - white means visible/gloss. - black means invisible/nothing. 1b.Adjust “Gloss Texture Intensity” all the way to 1. - You can also blend Default Gloss & Gloss Texture by adjusting it. [If you want Gloss Texture to follow light and object rotation] 2a. Check “Follow Light”. 2b. Check “Follow Object Rotation”. ******************************************************************************************************** [For Rim Light] 1a. Use “Fresnel”. 1b. Adjust “Intensity” 1c.Check “On Light”. 1b Check “Hard Edge”. 1c.Adjust “Fresnel Fill”. ******************************************************************************************************** [Result]
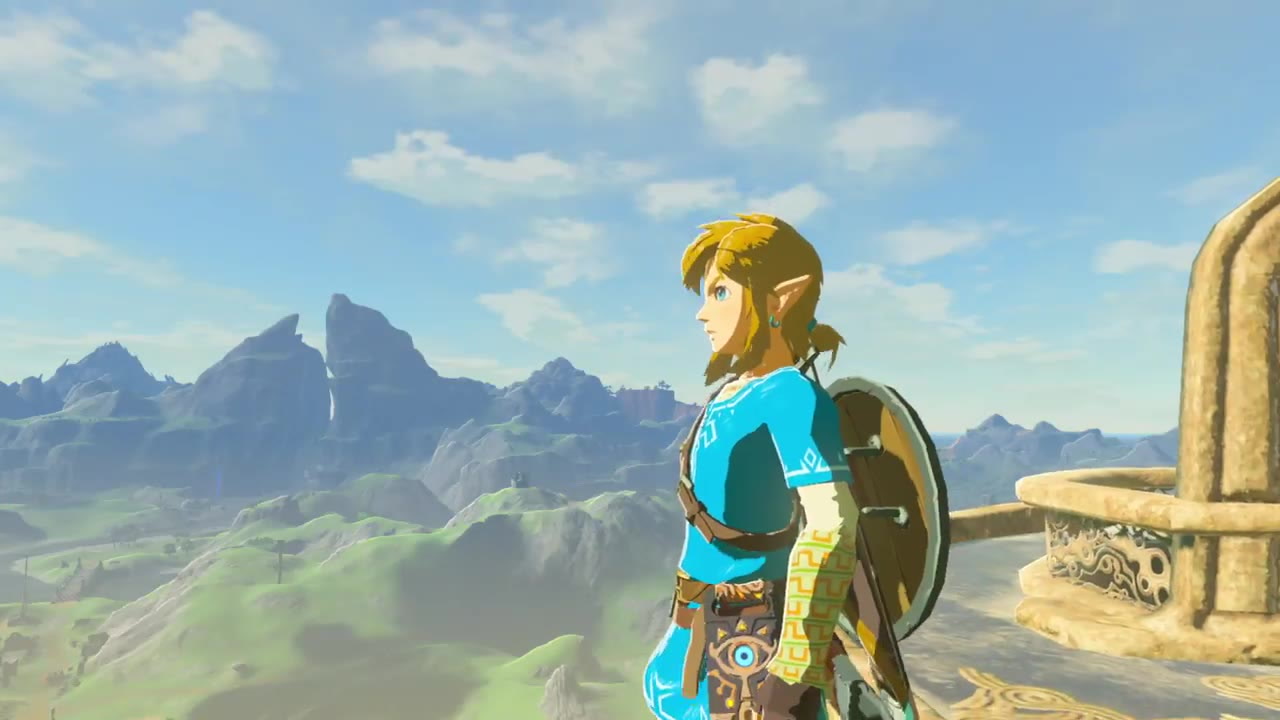
[quote=“jessejarvis, post:7, topic: 632467, username:jessejarvis”] Hi QStudio! Great to see you have instancing support now I am trying to achieve results similar to Peria Chronicles and Breath of the Wild, however this is my current setup:
Are there any values you recommend? Could you help me in any way with this? I’m using the Taichi character model with custom hairs. The hairs themselves are just a solid color as I am trying to achieve cell-shading. This is roughly what I want: I’m not seeming to have very good luck tweaking the values. Notice how in these hairs it has a smooth black outline around the edges of the hair, with some rim lighting I believe (halo) around the top of the head. Thank you. **[/quote]
**
Try to download that and use it for Gloss Texture.
Its really easy to make that.
Its just an equal side image/texture.
Just draw white vertical oe horizontal lines in the middle just like the anime hair gloss.
Do it in your prefered image editor like Photoshop or Gimp.
i have a question ,on the taichi character you use on the face a face Shadow Texture,how you have made that? I have look on gimp and have set the texture with more contrast but it will not look so good,can you help me please,i will use the m01_swimwear_00_h.png for the taichi char.
Important:
1.Adjust “Intensity Multiplier” or Directional Light Intensity if the scene is too bright.
Note:
*You can use real-time light with shadow [low, medium or high] or none and you can use directional light, point & spotlight at the same time, its your choice.
[Face, Skin, Cloths & Others] [/B][/I] 1a. Use “Shadow Color Texture”. - Use a separate dark version of the main/base texture. 1b. Adjust “Intensity” all the way to 1. 1c. Adjust “Add Light”. - Be sure “Intensity Multiplier” is not equal to 0 or “Source Color” not black. 2a.Use “ShadowT” - For more shadow details like the hair and cloth. - Texture must be Dark - Gray & White. - Dark - Gray means shadow/visible. - White means invisible/nothing. - You can use Gradient or Flat texture. 2b. Check “Show On Light”. 2d.Adjust “Shadow Size”. - How much shadow to show 3a. Adjust “Size” under “Self Shadow” *Only adjust it if you want more shade/self shadow. ******************************************************************************************************** [Hair] [Gloss] 1a. use “Gloss Texture”. - I called this custom gloss, be sure the texture is black & white. - white means visible/gloss. - black means invisible/nothing. 1b.Adjust “Gloss Texture Intensity” all the way to 1. - You can also blend Default Gloss & Gloss Texture by adjusting it. [If you want Gloss Texture to follow light and object rotation] 2a. Check “Follow Light”. 2b. Check “Follow Object Rotation”. ******************************************************************************************************** Hope to see a screenshot of it. [quote=“Pandur1982, post:11, topic: 632467, username:Pandur1982”] Thx for that great Shader i love it, i have a question ,on the taichi character you use on the face a face Shadow Texture,how you have made that? I have look on gimp and have set the texture with more contrast but it will not look so good,can you help me please,i will use the m01_swimwear_00_h.png for the taichi char. **[/quote]
**
Hi! I just bought your asset yesterday, and I love the results from it!
I’m having an issue, though, and none of the settings seem to make this go away. When I get close to a mode, I can see the background bleeding through the shader somehow. Any idea what might be causing this?
All of the settings are okay.
Can you send me the texture of the model or the fox model with the texture? “If its okay to you.”
Just for checking. send it by email.
I received it, thank you.
In my checking there’s no problem:
Did you edit the texture file?
Try this:
*Try to set the Texture/Main Texture to none.
If the problem is gone means the problem is in the texture.
If the problem is the texture, try adding a white background.
*Try set the Render Queue to 2000 if the problem is still there.


