Well, to draw a camera in an editor window you have to use a rendertexture. There’s no way around that it seems because the target screen buffer of cameras are directly linked to the gameview. So the size of the rendered image would otherwise always be the same as the gameview. Even Unity’s SceneView does use a RenderTexture.
This should work:
        Camera m_Cam = null;
        private void OnEnable()
        {
            wantsMouseMove = true;
        }
        private void OnDestroy()
        {
            if (m_Cam != null)
                DestroyImmediate(m_Cam.gameObject);
        }

        void OnGUI()
        {
            if (m_Cam == null)
            {
                m_Cam = EditorUtility.CreateGameObjectWithHideFlags("TempCam", HideFlags.HideAndDontSave).AddComponent<Camera>();
                m_Cam.gameObject.SetActive(false);
            }
            var rect = position;
            rect.position = Vector2.zero;
            if (Event.current.type == EventType.Repaint)
            {
                var tex = RenderTexture.GetTemporary((int)rect.width, (int)rect.height);
                m_Cam.targetTexture = tex;
                m_Cam.pixelRect = rect;
                m_Cam.Render();
                m_Cam.targetTexture = null;
                Graphics.DrawTexture(rect, tex);
                RenderTexture.ReleaseTemporary(tex);
            }
        }
This should work properly.
I’m not sure what you mean by that. How you render your camera has nothing to do with raycasting. What kind of raycasting do you want to do? If you want to use the HandleUtillities.RaySnap method, you have to do some preparation steps. First of all in order to make that method work, you have to call Handles.SetCamera with your camera. Next you have to create a ray from your camera. Of course we can’t really use GUI or screen space coordinates here as screen space always references the gameview. However you can use two small extension methods like the following in order to create a normalized position from the mouse position inside a certain GUI rect:
    public static class RectExtension
    {
        public static Vector2 Pos2NormalizedPos(this Rect aRect, Vector2 aPos)
        {
            var p = aPos - aRect.position;
            return new Vector2(p.x / aRect.width, p.y / aRect.height);
        }
        public static Vector2 InvertY(this Vector2 aPos)
        {
            return new Vector2(aPos.x, 1f-aPos.y);
        }
    }
With that class in your project, you can simply do this right at the end or the OnGUI method:
            Event e = Event.current;
            Handles.SetCamera(m_Cam);
            var pos = rect.Pos2NormalizedPos(e.mousePosition).InvertY();
            var ray = m_Cam.ViewportPointToRay(pos);
            var obj = HandleUtility.RaySnap(ray);
            if (obj != null && obj is RaycastHit hit)
            {
                // handle your hit. for debugging:
                // Selection.activeTransform = hit.transform;
            }
            if (e.type == EventType.MouseMove)
            {
                // enforce a repaint when the mouse moves on our window
                Repaint();
            }
Note my previous approach still had some issues. Using a temporary render texture wasn’t a good idea as it will mess up the ViewportPointToRay method. Using a proper cached render texture and keep it set actually works best.
I actually packed everything into a neat utility class that should handle almost everything for you.
EditorWindowCamera.cs
using UnityEngine;
using UnityEditor;

namespace B83
{
    public class EditorWindowCamera
    {
        private Camera m_Camera;
        private Transform m_Transform;
        private RenderTexture m_RenderTexture;
        private Rect m_LastRect;
        public Camera camera => m_Camera;
        public Texture texture => m_RenderTexture;
        public Rect lastRect => m_LastRect;
        public Transform transform => m_Transform;
        public EditorWindowCamera()
        {
            m_Camera = EditorUtility.CreateGameObjectWithHideFlags("TempCam", HideFlags.HideAndDontSave).AddComponent<Camera>();
            m_Transform = m_Camera.transform;
            m_Camera.gameObject.SetActive(false);
            m_Camera.clearFlags = CameraClearFlags.Color;
            m_Camera.backgroundColor = new Color(0, 0, 0, 1);
            m_RenderTexture = new RenderTexture(1, 1, 24);
            m_Camera.targetTexture = m_RenderTexture;
        }
        ~EditorWindowCamera()
        {
            Destroy();
        }
        public void Destroy()
        {
            if (m_Camera != null)
            {
                m_Camera.targetTexture = null;
                UnityEngine.Object.DestroyImmediate(m_Camera.gameObject);
            }
            if (m_RenderTexture != null)
                UnityEngine.Object.DestroyImmediate(m_RenderTexture);
            m_Camera = null;
            m_RenderTexture = null;
            m_Transform = null;
        }
        public void Render(Rect aRect)
        {
            m_LastRect = aRect;
            if (aRect.width != m_RenderTexture.width || aRect.height != m_RenderTexture.height)
            {
                m_RenderTexture.Release();
                m_RenderTexture.width = (int)aRect.width;
                m_RenderTexture.height = (int)aRect.height;
            }
            var r = aRect;
            r.position = Vector2.zero;
            m_Camera.pixelRect = r;
            m_Camera.Render();

        }
        public void RenderAndDraw(Rect aRect)
        {
            if (Event.current.type == EventType.Repaint)
            {
                Render(aRect);
                Graphics.DrawTexture(aRect, m_RenderTexture);
            }
        }
        public bool RaycastNormalized(Vector2 aPos, out RaycastHit aHit)
        {
            aHit = default;
            if (aPos.x < 0f || aPos.y < 0f || aPos.x > 1f || aPos.y > 1f)
                return false;
            Handles.SetCamera(m_Camera);
            var ray = m_Camera.ViewportPointToRay(aPos);
            var obj = HandleUtility.RaySnap(ray);
            if (obj != null && obj is RaycastHit hit)
            {
                aHit = hit;
                return true;
            }
            return false;
        }
        public bool RaycastGUIPoint(Vector2 aPos, out RaycastHit aHit)
        {
            if (m_LastRect.width == 0 || m_LastRect.height == 0)
            {
                aHit = default;
                return false;
            }
            aPos -= m_LastRect.position;
            aPos.x /= m_LastRect.width;
            aPos.y /= m_LastRect.height;
            aPos.y = 1f - aPos.y;
            return RaycastNormalized(aPos, out aHit);
        }
    }
}
With this class you can simply do this inside your editor window:
        EditorWindowCamera m_Cam = null;
        private void Awake()
        {
            m_Cam = new EditorWindowCamera();
        }
        private void OnDestroy()
        {
            if (m_Cam != null)
                m_Cam.Destroy();
        }

        void OnGUI()
        {
            var rect = position;
            rect.position = Vector2.zero;
            GUI.Box(rect,"");
            rect = new RectOffset(20, 20, 20, 20).Remove(rect);
            m_Cam.RenderAndDraw(rect);

            Event e = Event.current;
            if (e.type == EventType.MouseDown && e.button == 0 && m_Cam.RaycastGUIPoint(e.mousePosition, out var hit))
            {
                Selection.activeTransform = hit.transform;
            }
Some additional notes on the EditorWindowCamera class.
Apart from the RenderAndDraw method which takes in a GUI space Rect and will render the camera to this area, there’s also a Render method which does just render the camera to the render texture so you could use the texture for other things. Maybe if you actually want to display it with a different aspect ratio than it is rendered with.
The RaycastGUIPoint method relies on RenderAndDraw being called before it is used since it uses the last rect to do the gui space to viewport transformation. You can use RaycastNormalized instead as long as you do the view port transformation yourself. Viewport coordinates have a range between 0 and 1 and start at the bottom left corner.
You should make sure to call Destroy when the editor window is closed or destroyed. We specifically used “EditorUtility.CreateGameObjectWithHideFlags” so the scene is not marked dirty when we create our own camera.
You can access the actual Camera, its Transform and the render texture over the read-only properties that the class provides
Thanks a lot for your solution proposal and all the efforts you did put in explanations + scripting.
I tried to make that code works for an hour or so. The UI takes a very long time to refresh (more than 15seconds) and at the end, displays only a black screen. The black screen is very well positioned and correctly cover the editor window with nice margins.
I’ll try to go a bit further from there. Thanks again.
What do you mean that it takes a long time to refresh? The Unity editor is completely event based. Unless you call Repaint on your editor window, the window will only refresh under very specific conditions. Specifically when the internal tooltip event fires. That only happens when you don’t move your mouse for about 1 second. However you can enable the MouseMove event (like I’ve done in my first post)
            if (e.type == EventType.MouseMove)
            {
                // enforce a repaint when the mouse moves on our window
                Repaint();
            }
Those two snippets will enforce a repaint of the window whenever you move your mouse over your editor window. Depending on your window this may be overkill. In any way you are responsible for repainting whatever needs to repaint. That includes the sceneview or the inspector when you do changes “behind the scenes”. For example you can do SceneView.RepaintAll() to update the sceneview(s). Unfortunately there’s no direct solution to update the inspector. However inspectors are also just EditorWindows. They can be found with FindObjectsOfType if really necessary.
About the “black screen”, make sure the camera actually points at something. By default the camera is created at the world origin (0,0,0) with default rotation. Note that you can remove the line
m_Camera.backgroundColor = ...
or set the alpha value to 0. This would actually remove the background of the camera and the editorwindow would be seen instead. When you need to debug your camera during development, you can replace HideFlags.HideAndDontSave with HideFlags.DontSave. This will make the camera be visible and selectable in the hierarchy. When you select it you would see a tiny preview window inside the scene view.
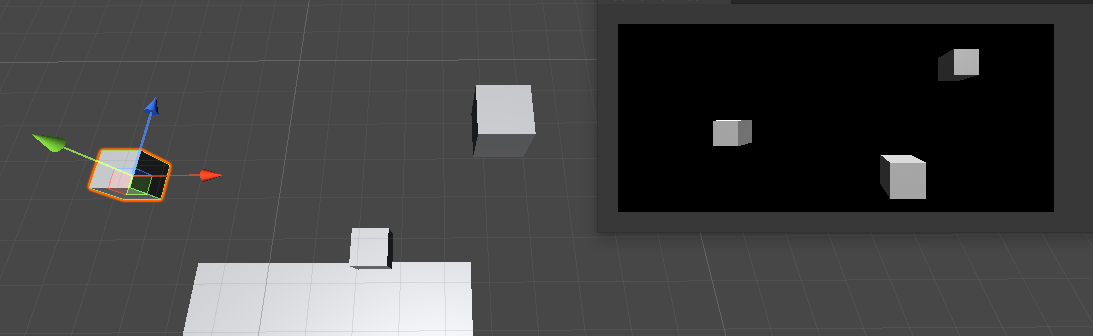
Here’s a screenshot of my editor window on the right and the sceneview in the background:
I can actually click on the objects rendered in my editor window and it will select the corresponding object as expected.
Thanks for your explanations again. After playing a bit with your code, I managed to add the littles changes missing considering my own setup. I did put my own camera settings and passed the scene I want to display as param to your class constructor :
public EditorWindowCamera(Scene scene)
    {
      GameObject o = new GameObject();
      m_Camera = o.AddComponent<Camera>();

      m_Camera.clearFlags = CameraClearFlags.SolidColor;
      m_Camera.backgroundColor = new Color(0.25f, 0.25f, 0.25f, 1);
      m_Camera.nearClipPlane = 0.3f;
      m_Camera.farClipPlane = 1000f;
      m_Camera.transform.position = new Vector3(-5, 10, -5);
      m_Camera.transform.Rotate(new Vector3(45, 45, 0));
      m_Camera.orthographic = true;
      m_Camera.scene = scene;

      m_Transform = m_Camera.transform;

      m_RenderTexture = new RenderTexture(1024, 1024, 24);
      m_Camera.targetTexture = m_RenderTexture;
    }
Your code is actually doing very well, the long time to Repaint was, as you stated, just my bad from not refreshing the UI.
I have a small issue left concerning the Raycast, it seems to be a little offset from the object. It’s actually detecting the HIT has if cube is shifted 50% on the left. May it be because I use an Orthographic camera ?
If I click empty space on left of the cube, HIT is detected.
If I click left side of the cube, HIT is detected
If I click anywhere from middle of the cube to the right, no HIT is detected
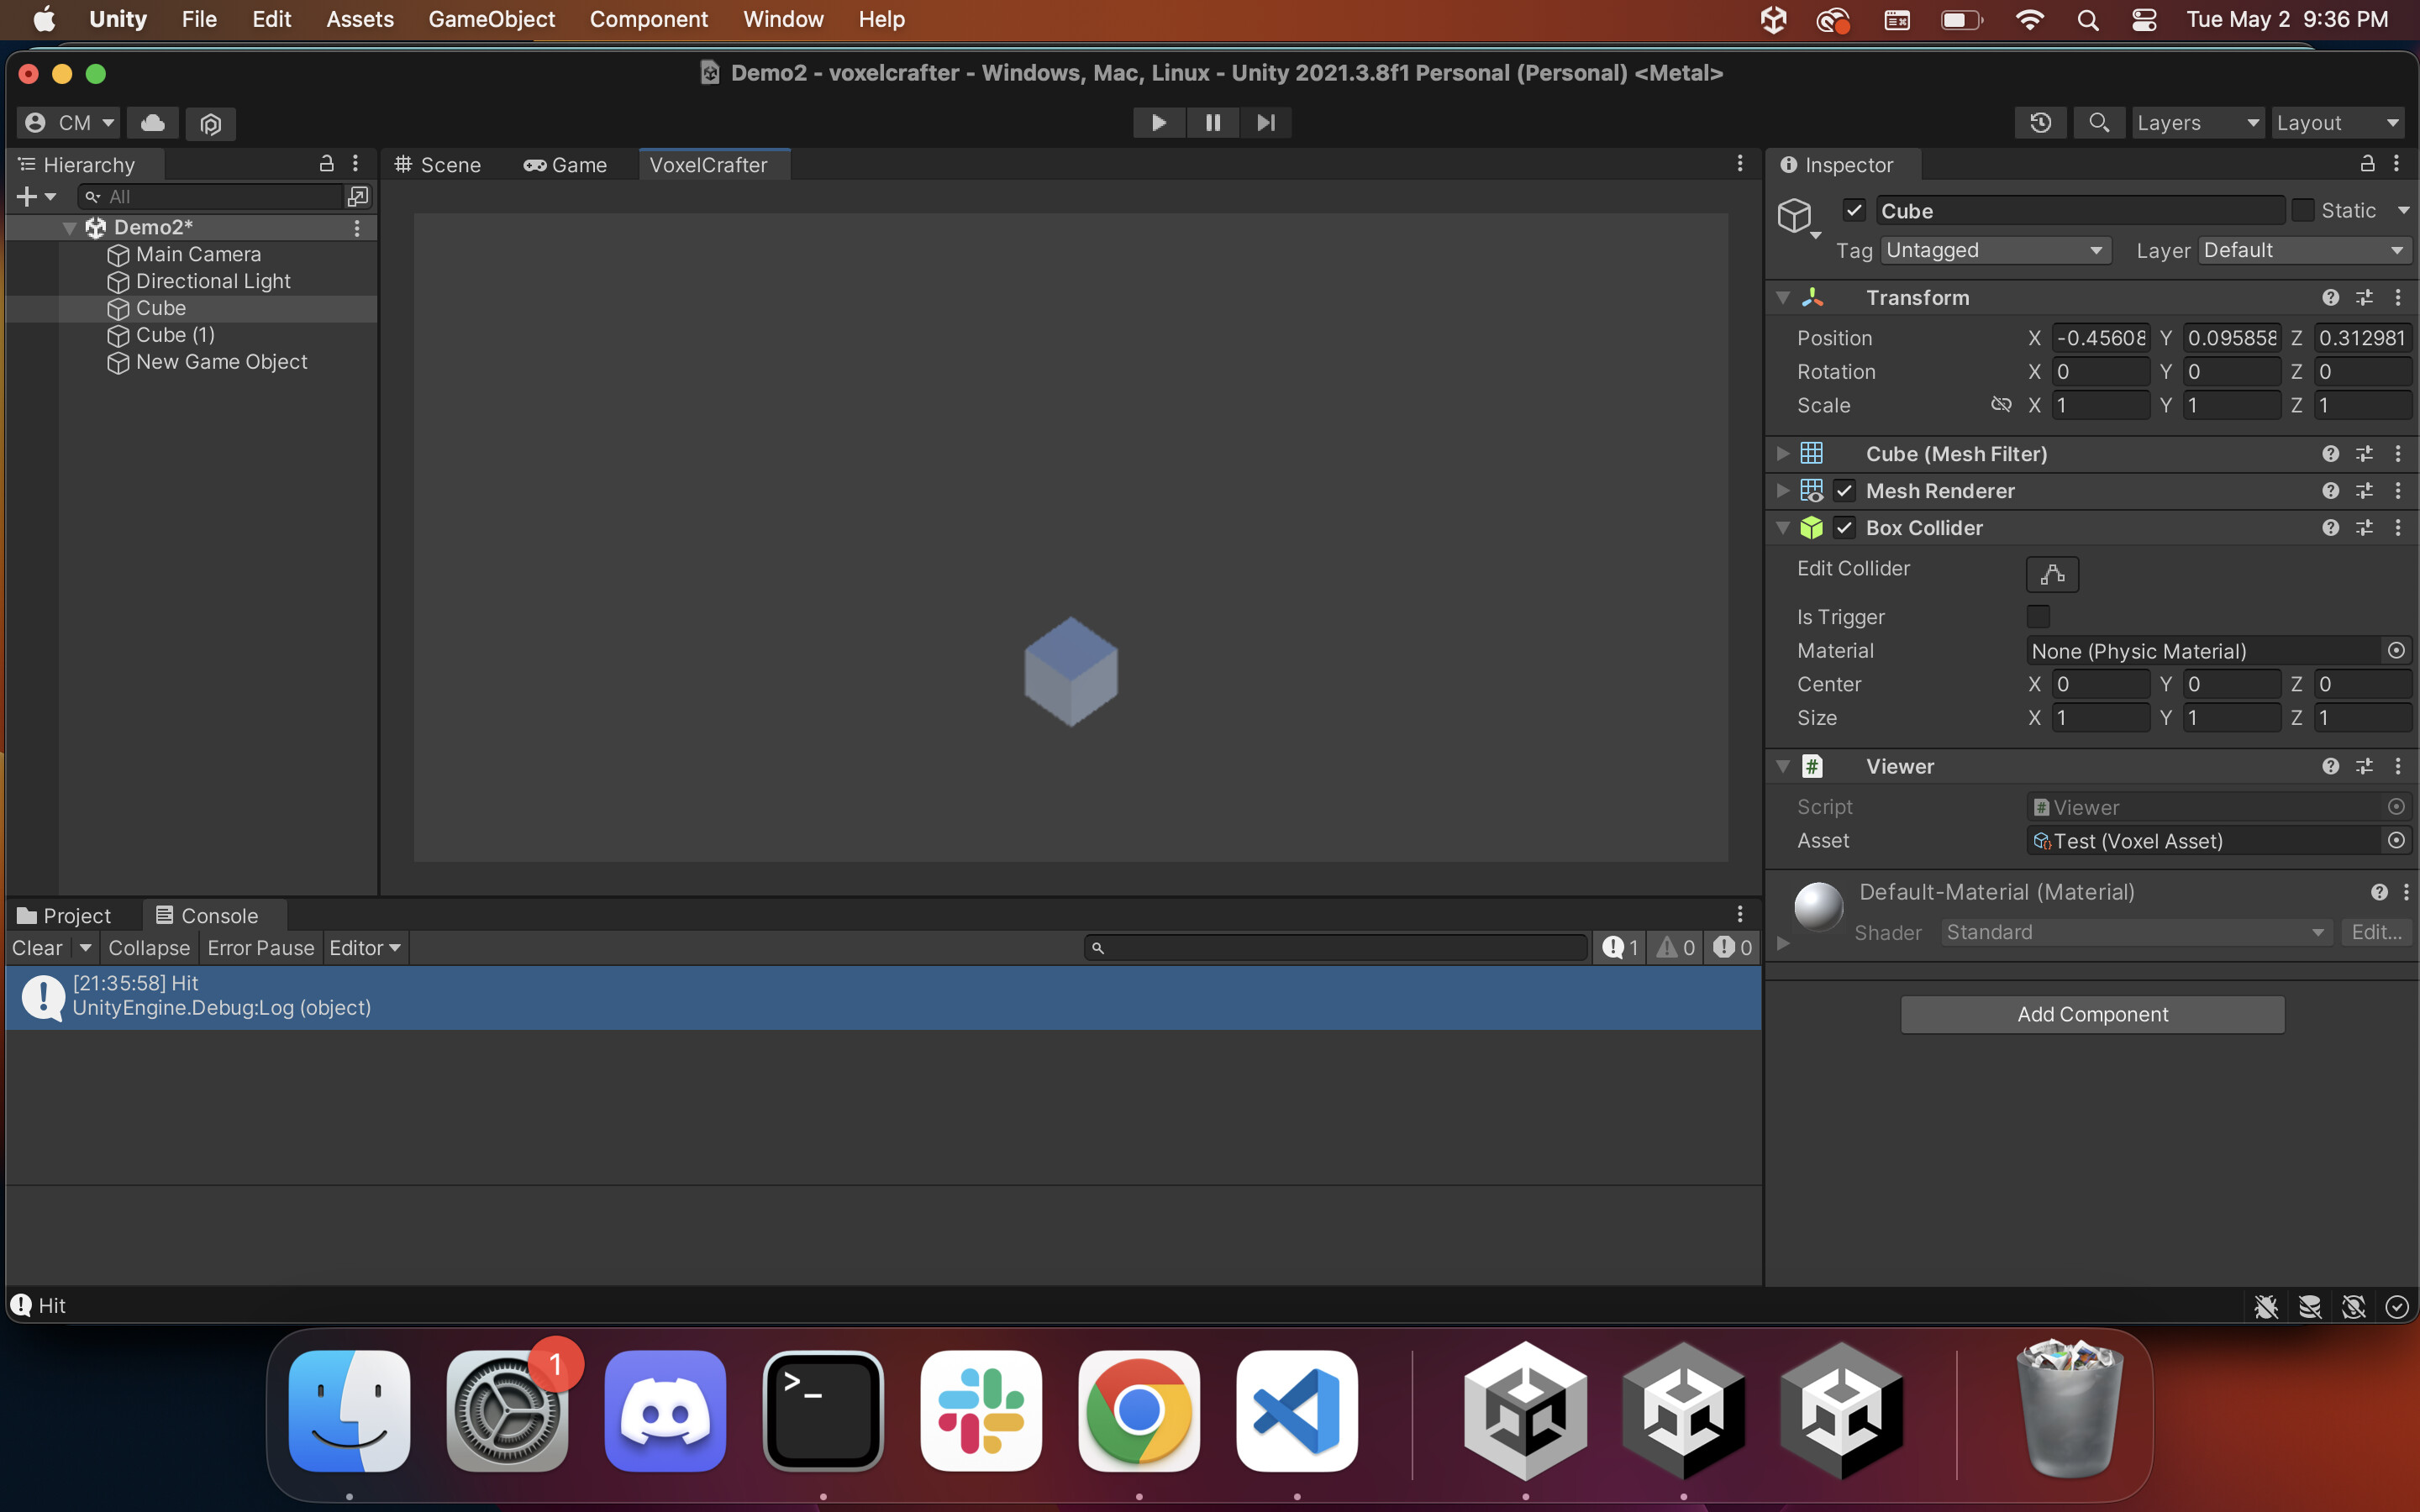
Ok, I just found out that the Raycast is actually sent into the SceneView instead of the PreviewScene I am using in my editor window. Is there a way to change the “active” scene for raycasting ? Api is not very helpfull to me so far.
During my setup, I add the Camera to the right scene :
scene = EditorSceneManager.NewPreviewScene();
editorWindowCamera = new EditorWindowCamera(scene);
EditorSceneManager.MoveGameObjectToScene(editorWindowCamera.camera.gameObject, scene);
I also set the scene into the camera
m_Camera.scene = scene;
And this is the raycast based on Bunny83 suggestions
public bool RaycastNormalized(Vector2 aPos, out RaycastHit aHit)
{
      aHit = default;

      Vector3 worldPoint = m_Camera.ViewportToWorldPoint(aPos);
      Handles.SetCamera(m_Camera);

      Ray ray = new Ray(worldPoint, m_Camera.transform.forward);
      var obj = HandleUtility.RaySnap(ray);

      if (obj != null && obj is RaycastHit hit)
      {
        Debug.Log("Internal hit");
        aHit = hit;
        return true;
      }

      return false;
}

public bool RaycastGUIPoint(Vector2 position, out RaycastHit aHit)
{
      Vector2 viewportPoint = new Vector2();
      viewportPoint.x = position.x / m_LastRect.width;
      viewportPoint.y = 1f - (position.y / m_LastRect.height);

      return RaycastNormalized(viewportPoint, out aHit);
}
Ok, for anyone struggling with this kind of issue, you have to retrieve the PhysicScene from the scene you wanna Raycast on :
PhysicsScene physicScene = PhysicsSceneExtensions.GetPhysicsScene(m_Camera.scene);

if (physicScene.Raycast(worldPoint, m_Camera.transform.forward))
        Debug.Log("There is something in front of the object!");
Note that I don’t really work with multiple scenes in the past. However you should note that physics raycast only works against physics shapes. So only against colliders. The HandleUtility.RaySnap method works with all objects that have a renderer.
Maybe try using SceneManagement.SceneManager.SetActiveScene ? The scene of course needs to be loaded and interactions are usually restricted to the active scene. There are also ways to filter / mask scenes as far as I’ve seen.