UPDATE: deadline is extended to June 30, 2020 (see Deadline for App Updates Has Been Extended - Latest News - Apple Developer)
This document provides information, instructions, and examples for how you can meet Apple’s App Store requirement to use a launch-screen storyboard for all app updates and submissions as of April 30, 2020.
The new App Store requirements
Apple will require all apps submitted to the store to have their launch screen (splash screen) built using a proprietary Apple storyboard file. Until now, users have been able to specify a single image or an Apple xib file that Unity handles automatically during player build, inserting it in the correct places in Xcode.
If you are not currently using a storyboard file for your launch screen, you must upgrade before the April 30 deadline.
To create a storyboard file, you need to use Xcode, and therefore a Macintosh computer.
Unity support for storyboard files
Unity 2017.4, 2018.4, and 2019.3 support the use of storyboard files as launch-screen images, however, they do not create them for you. As well, note the following:
-
The “Use Storyboard for Launch Screen” option in Unity’s iOS player settings is not selected by default.
-
For Unity, you need to create the storyboard in Xcode, and then you have to copy it (with any necessary images) into your Unity project.
-
Unity will build your specified launch-screen storyboard into an Xcode project, but it will not copy any referenced image assets across automatically unless you put them in the StreamingAssets folder.
-
Unity’s built-in Splash Screen (mandatory for Personal Edition) is not affected by this update. The launch-screen storyboard appears before the Unity Splash Screen (if you have enabled it).
We are working on making the launch-screen storyboard as default and improving the overall workflow. For now, see the details below.
Setting up a storyboard in Unity
There are two methods you can use to set up your storyboard:
- Method 1: Copy, link, and reference an existing launch-screen storyboard and assets within the Xcode project, either manually or using automated means, after the project has been built.
- Method 2: Add the storyboard file to your Unity project and place any referenced images in the StreamingAssets folder. Unity treats these as raw assets so it will copy and link them to Xcode and use them in the storyboard.
Method 2 lets you keep the storyboard and images within the Unity project, therefore they are checked into source control. This method leverages Unity’s ability to build the storyboard into an Xcode project and it ensures that images you place in the StreamingAssets folder get copied across too.
This document assumes that a launch-screen storyboard already exists, created on a Macintosh, and all the required images are available. The easiest way to create a launch-screen storyboard in Xcode is to start with a new blank project, work on the launch-screen storyboard in it, then copy the storyboard file and images into your Unity project (this also allows the project to be checked into source control).
Once you have created a simple Xcode project you can edit the LaunchScreen.storyboard, using a splash.png image which you can adjust to scale to fit for example:
In Finder, the project structure would look like the following (we’ve selected the assets of interest).
Copy the LaunchScreen.storyboard file to your Unity project. If you don’t have a StreamingAssets folder in your Assets folder, then create it and copy any images in there.
Now, in the iOS player settings, select Use Storyboard for Launch Screen and browse to the LaunchScreen.storyboard file. Remove any other splash images you may already have.
NOTE: Restart Unity at this point because it may still have the old splash assets cached.
You can now build your iOS project. When you’re finished, open Unity-iPhone.xcodeproj in Xcode and you should see the storyboard file. The images should be in the Unity-iPhone/Data/Raw/ directory. When you select the storyboard file, you should see it with the images. For example:
Confirm that the Unity-iPhone target has the Launch Screen File set to the correct storyboard. For example:
In order for the splash screen images to be copied to the device there are a few final steps.
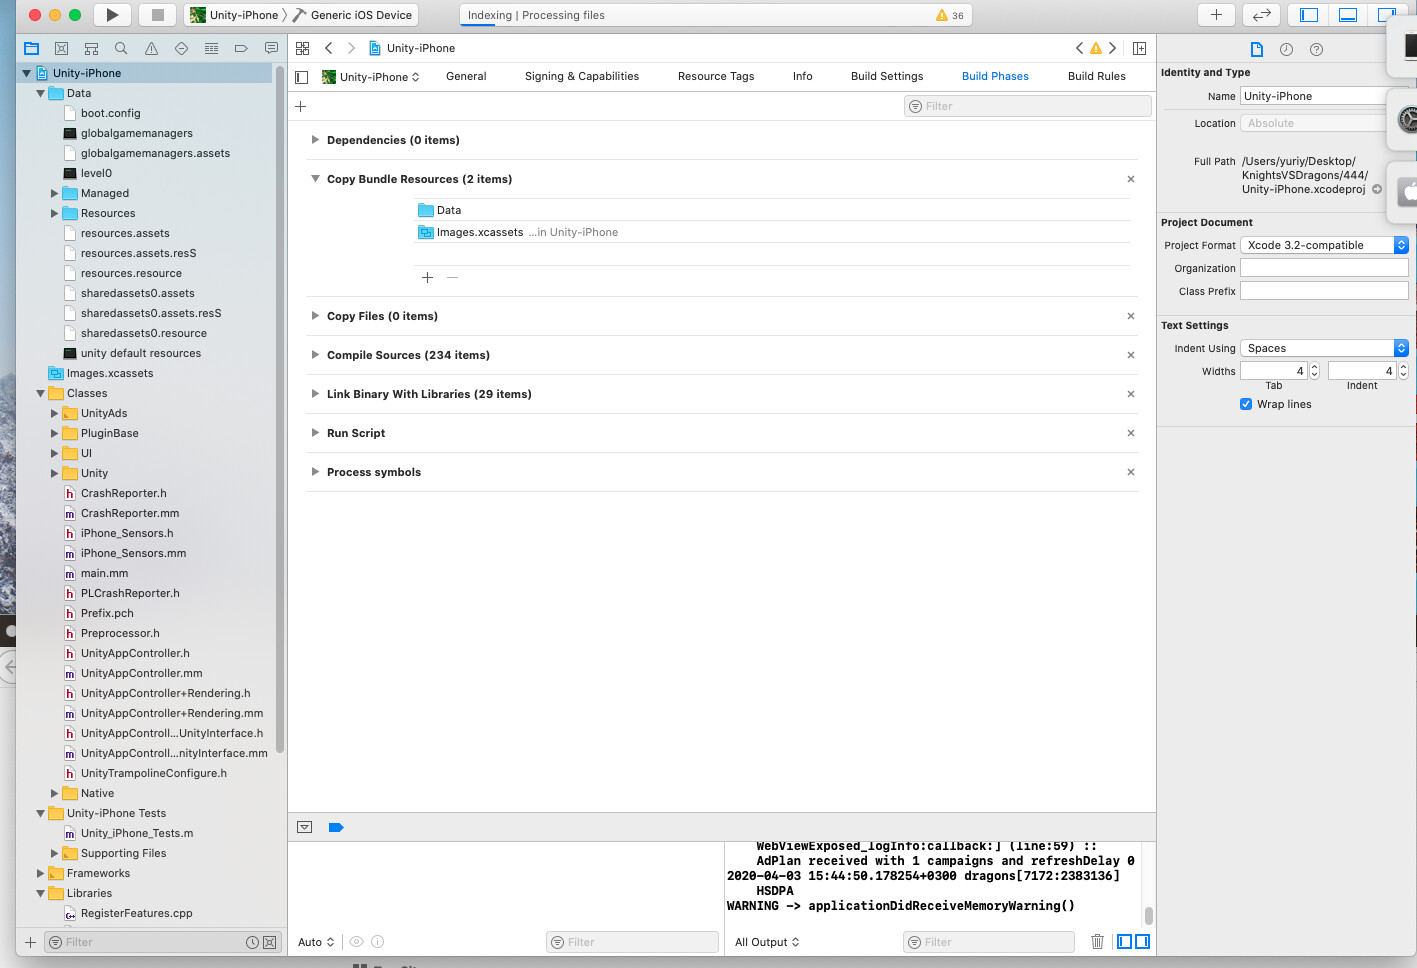
In the Unity-iPhone build target, select the “Build Phases” tab and open “Copy Bundle Resources”
Click the + button to add a new item(s) to “Copy Bundle Resources” and select “Add Other”
Browse to the "{xcode project}/Data/Raw” directory, select your splash images and click “Open”
Check the options match the above and click “Finish”
Note your image(s) will be added to “Copy Bundle Resources”. This ensures that the splash screen images are installed onto the device correctly.
Other resources
See also the Xcode Storyboard option for Splash Screens forum post (thank you @Marat_Gilyazov ) which includes a link to a complete tutorial on how to make a launch screen storyboard.