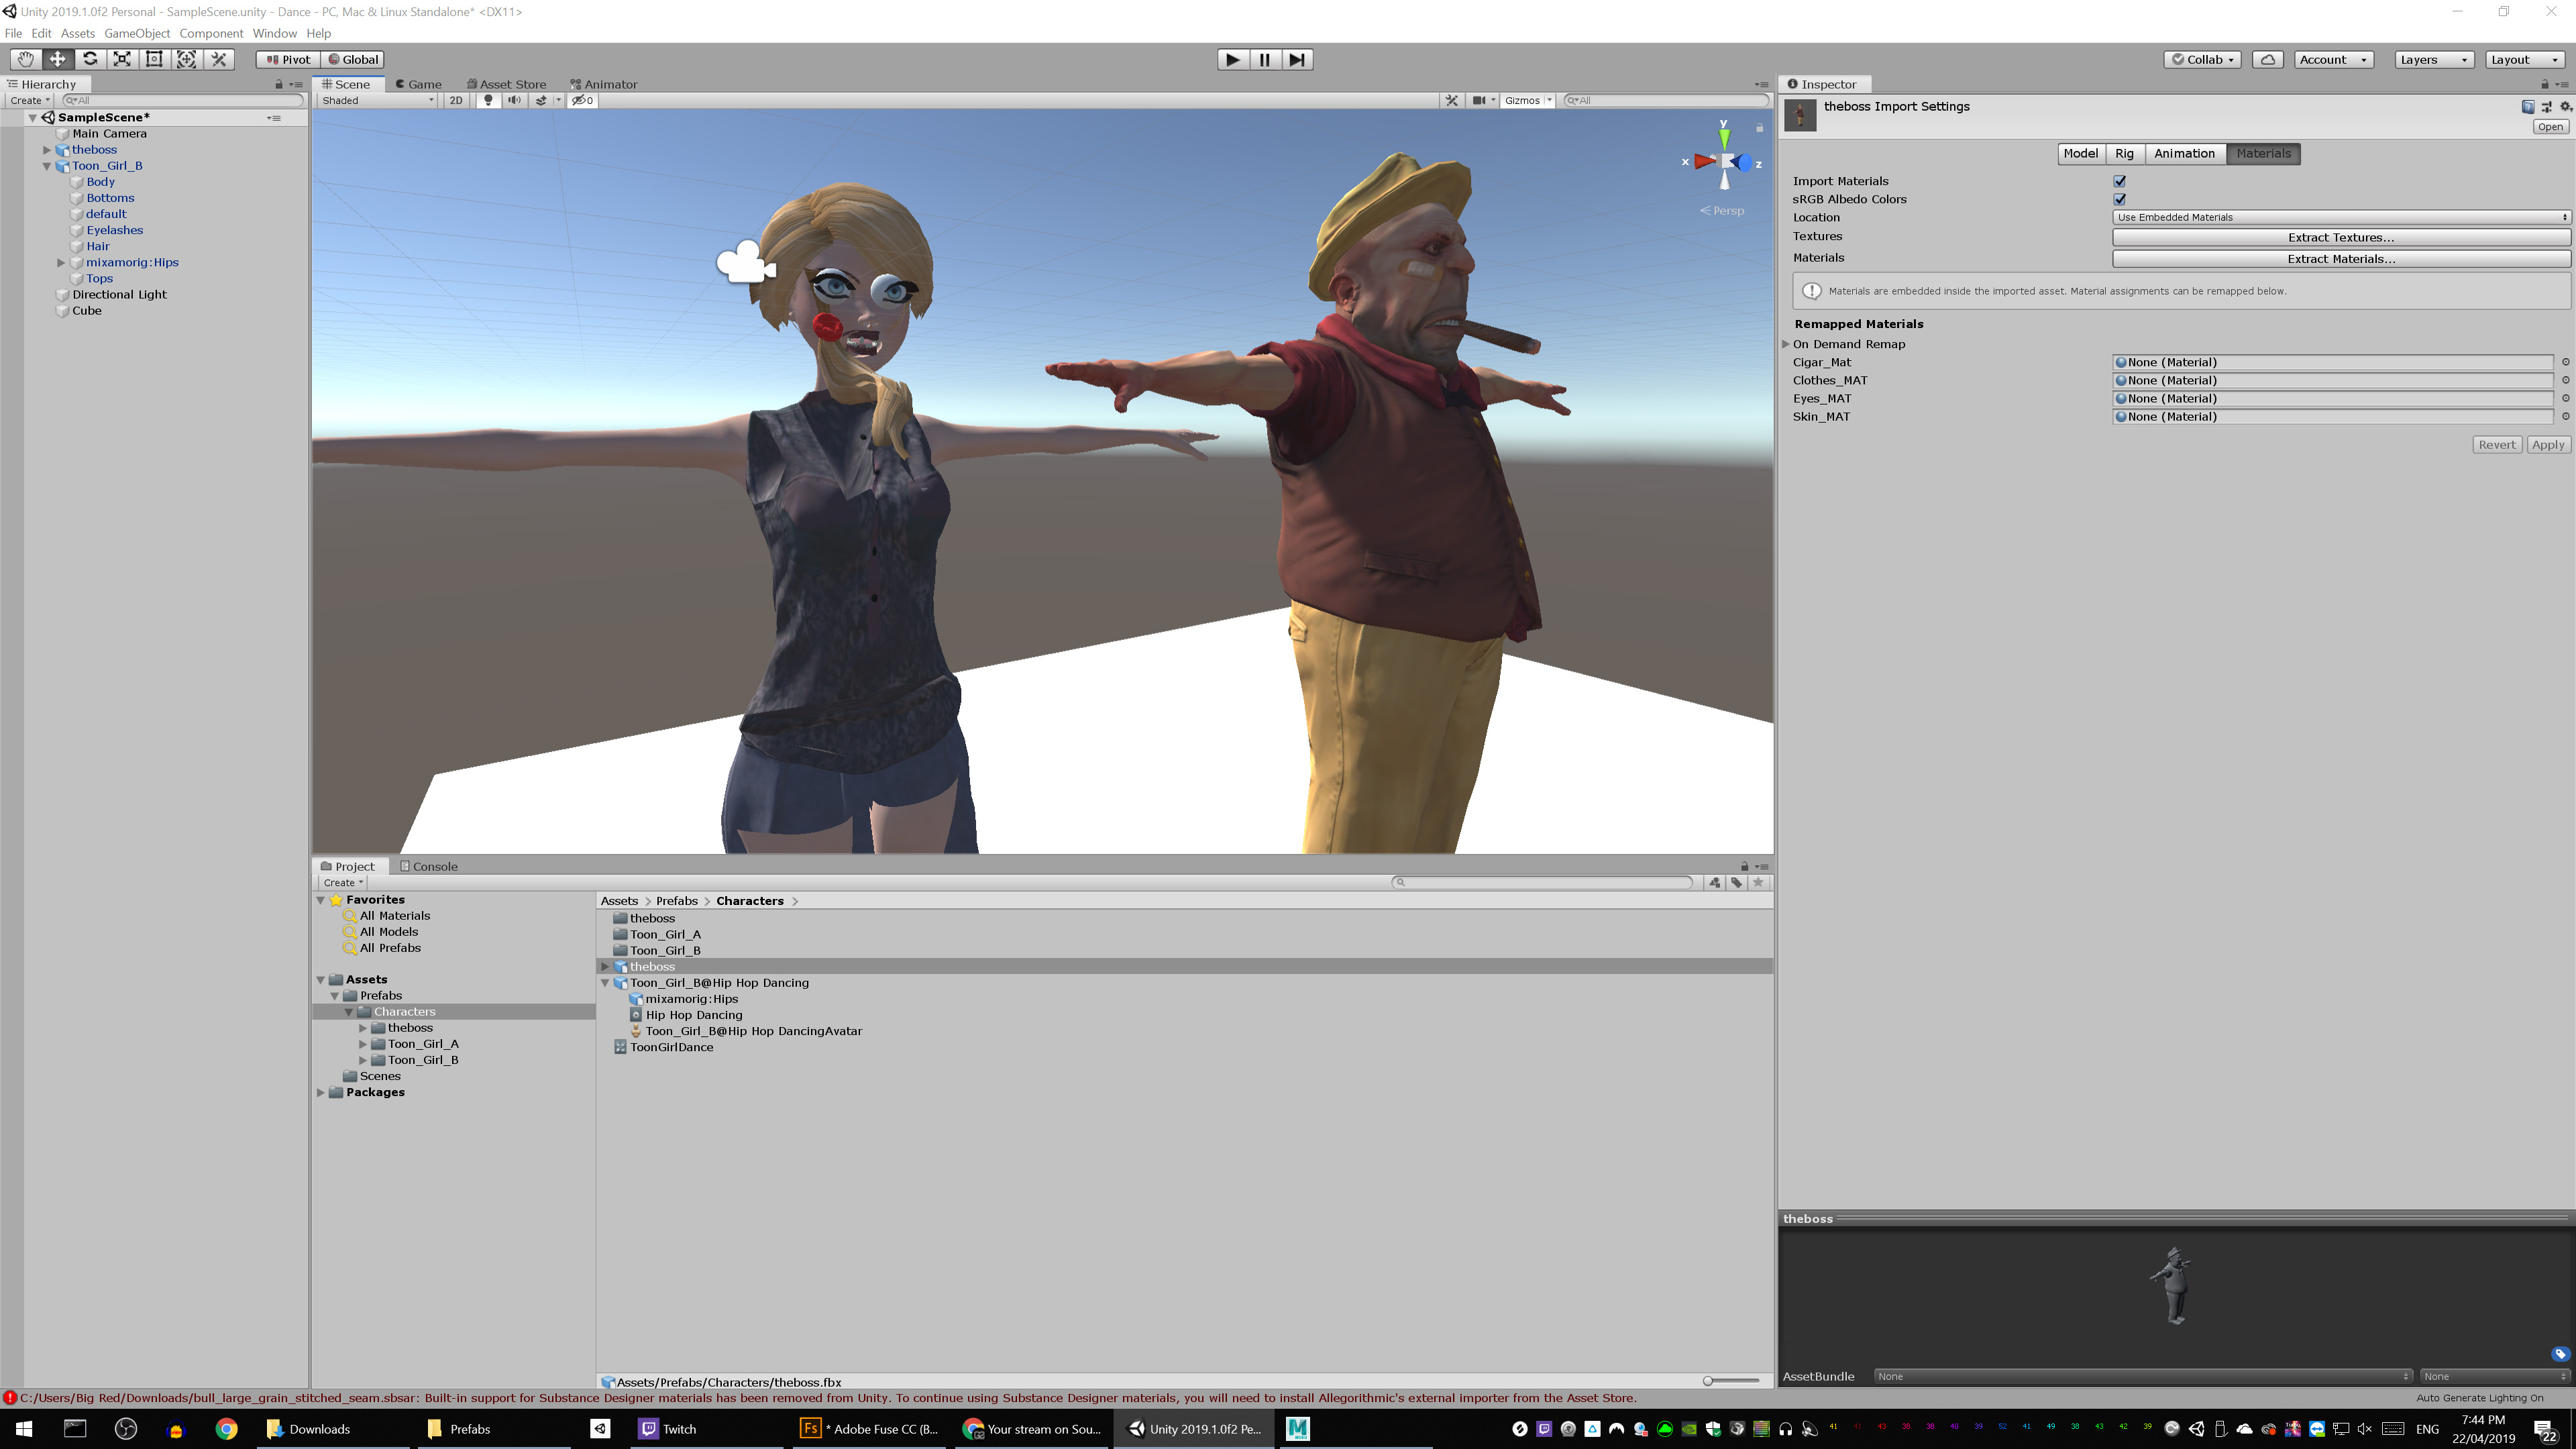
I’m writing this post because well, Animation in Unity is a nightmare for independent game developers. You found a great model, you try to use it and you have a mismatch between rigging and animations. Your character walks through walls, goes up, sinks down through the floor, etc. So, third party providers try to provide solutions by providing models that are rigged and animated. These are the best solutions, but often, the model isn’t what you want or need, so you picking something else. Then you try to use Mixamo for some great looking animations, but you flail around in desperation as nothing works like you wanted it to.
Likely, you’ve had the problem of the animation warping back to where you started and you search the internet only to discover that someone says “check root motion”. You do, but that doesn’t fix it, so you do what everyone else does and tinker away into oblivion until whatever good advice you get no longer works and you end up pulling your hair out. You see 10,000 posts about ‘root motion’, curves, each animation needing it’s own avatar, and other spaghetti thrown at the wall of suggestions.
(Hey, if anyone from Unity reads this: There’s thousands of settings, checkboxes, dropdowns, and variables that you can set in Unity for animation and each one can throw off your animation. While the flexibility of Unity is awesome in this regard, most game developers want to drop a character into a scene and have it walk, run, or stand there without too much trouble. You need to do something to make rigging and physics with animation much, much easier. I’m sorry, but it’s true).
First, start a new project and a new scene to test your setup. I know, I know, you want to use your awesome scene that you build you drop your character in and see all the shaders in the awesome glory of your game. Sorry, spare yourself hours or days, it’s just to test your character out, so new project, new scene.
-
There’s a T-pose pose in Mixamo, apply that pose first. If your model isn’t recognized by Mixamo’s auto-rigging, hire someone on upwork first to fix the model and put into a T-Pose. Great, download that and only that pose with the skin. If you don’t have a T pose, give up now, it’s a lost cause. Don’t think, “well, it’s close, I’ll fudge it cause I try other stuff on the internet and I get close and it works”. You need the T-pose.
Pro Tip: If Mixamo doesn’t recognize your FBX file, try an OBJ format instead. -
Import that exact FBX model you downloaded from mixamo into your project and add it to your scene. Not any other models you have, you need that exact model. Don’t try the old switcharoo here, it won’t work. The model should have the animator component added to it, if it doesn’t add it manually. It will likely show up without materials applied, you can add them back later, just skip it for now. It must be the model you downloaded from Mixamo with the T-Pose avatar from Mixamo. You can’t mix and match, it must be these two and nothing else.
-
In your project window, click on the little arrow next to the model you added. You’ll see an avatar down towards the bottom. Drag this avatar into the avatar slot on the animator component for the model in your scene. It might already be there, but if not, add it manually. If must be that exact avatar and that exact model. You can’t get slick here either and try brute forcing a mix of models and avatars, it won’t work.
-
Click on “Select” on the model you imported. Click on “Rig”. Change the dropdown to Humanoid. Click Apply. Wait, what? It worked… I know, you’re expecting the errors right? You’ve been here before and it didn’t work with the other model you were playing around with, I know, I know. If you followed the steps above, it worked without the yellow or red errors that ruined your prior weekend.
-
In your Asset folder for the project where your model is stored, create an animation controller (right click, Create, Animation controller). Drag that controller to the open controller slot on your model.
-
Go back to Mixamo. Your model should still be loaded there, now select the animation you want, like Walk. Download that animation. Use the import function in Unity to import that into the folder where your model is stored.
-
Ah ah ah, don’t add that animation yet. I know what you were thinking, it won’t work. Okay, so click on the animation that you just imported into your project folder. In the inspector window, click on Rig, now change that from Generic to Humanoid and click apply. If you followed the steps correctly, no red or yellow errors here.
-
In your model, double click on the animation controller you added earlier. Drag and drop the clip you just downloaded and set to humanoid into the animator.
-
Click on your model that you added to your scene in the Hierarchy. Click Apply Root Motion, set update mode to Animate Physics.
-
To add additional animations, follow steps 6 to 8.
Optional depending on your project and animations:
11) Add Rigidbody to your model, under constraints, for Rotation, check X and Z.
12) Add a collider. Depending on your model, capsule or box collider may work best. Mesh causes a lot of additional problems, finish this step and you can tweak it later on.
13) Add a couple of cubes to your scene to test, one for the floor and one for a wall.
14) Place your model on top of the floor and in front of the wall.
15) When you play your game, your character should not fall through the floor or walk through the wall.
16) Go back and painfully add your materials to the model. You’ll have to import them and then apply them. If you’re lucky and placed your textures one folder above where your stored your model, they might auto-apply. If not, just put them back so your model looks complete again.
If you’ve done everything above, your model won’t fly into space, warp backwards during animation clips, sink through the floor, or just fail entirely. You can now copy the files into your real project and tweak from there for navigation meshes, etc.
Good luck!
-C