Pixel Perfect Camera
Asset Store Page
[HTML5 demo]
It’s a camera script which gives more control over the camera size and enables pixel perfect rendering for pixel art sprites.
Features
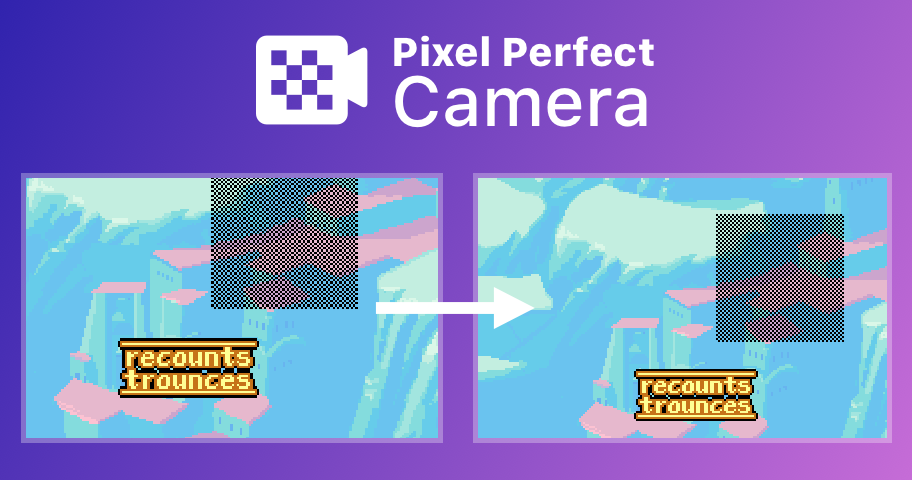
Pixel perfect: adjusts the camera size so that each sprite pixel is rendered to an integer number of screen pixels. This is very important when you render pixel art using “point sampling”.
Camera width: specify the camera width instead of height (the default Unity camera allows you to set only the camera height).
Size constraints: you can optionally set the maximum allowed camera width or height. This is useful if for example the user has an ultra wide monitor and you don’t want your camera’s width to be wider than some amount. The script will choose a camera size that respects all constraints.
Retro snap:enabling pixel snapping makes sprites snap to the artwork’s pixel grid producing a snappy retro motion.
How it works
In contrast to other camera solutions, this script uses a very simple way (which will most probably not have any side-effects in your project) to achieve pixel perfection. The only thing it does is that it adjusts the camera’s orthographic size.
The script makes sure that each sprite pixel gets rendered in an integer amount of screen pixels. You can read more about the rational in my blog post.
If you enable retroSnap, each sprite will snap in the asset’s pixel grid. Thus, when a sprite is translated, it will move multiple screen pixels at once in order to snap to the artwork’s pixel grid.
Note that if you change the scale of your sprite or you rotate it, you won’t get the blocky result you may expect. So, sprite scaling and rotating should probably not be used.
How to use
Create an orthographic camera and use the script on it. You can watch this video for more information.
If you want to use the pixel snap functionality, you’ll have to use the pixelSnap script on every sprite.

Project set-up
If you want to enable the pixel-perfect mode, make sure that your project has the following set-up:
- Use an orthographic camera and throw the Pixel Perfect Camera script on it
- Leave the sprite’s scale to 1.
- The textures of your sprites should use: point filtering, disable mip-mapping, compression to “none” (Truecolor format in older Unity versions)
- All your textures should have the same Pixels Per Unit
- Make sure that the player settings of the platform(s) you are targeting don’t reduce the texture size
- In your project’s quality settings: set “Full res” in Texture quality and disable Anti-Aliasing for the platform you are targeting**.**
- For best results use the sprite editor to set a pivot point of [0.5, 0.5] to your sprites (the default one).
- Place your game objects in positions with coordinates that are either integer or multiples of [1 / Pixels Per Unit]. For example, if Pixels Per Unit is 100, have the initial position of your game objects be at multiples of 0.01 such as 2.04, 4.32 but not 2.043 nor 0.001 etc.
UPDATE: In order to continue the support and development of Pixel Perfect Camera further, we decided to put a price tag on the addon.


