This is my Blade Runner 2049 personal challenge.
Idea behind this personal challenge is to see if I can reconstruct scenes from Blade Runner 2049 movie, trying to match closely atmosphere and look of a movie by using only realtime graphics in Unity. This is mostly done so that I can improove my abilities and understand better some cinematographic looks.
My own rules are:
-One scene per day
-One scene should be done only in few hours
-I’m reconstructing scenes and not characters
-Everything should be done without using mate paintings.
Work in progress.
Here is a reference movie:
2 Likes
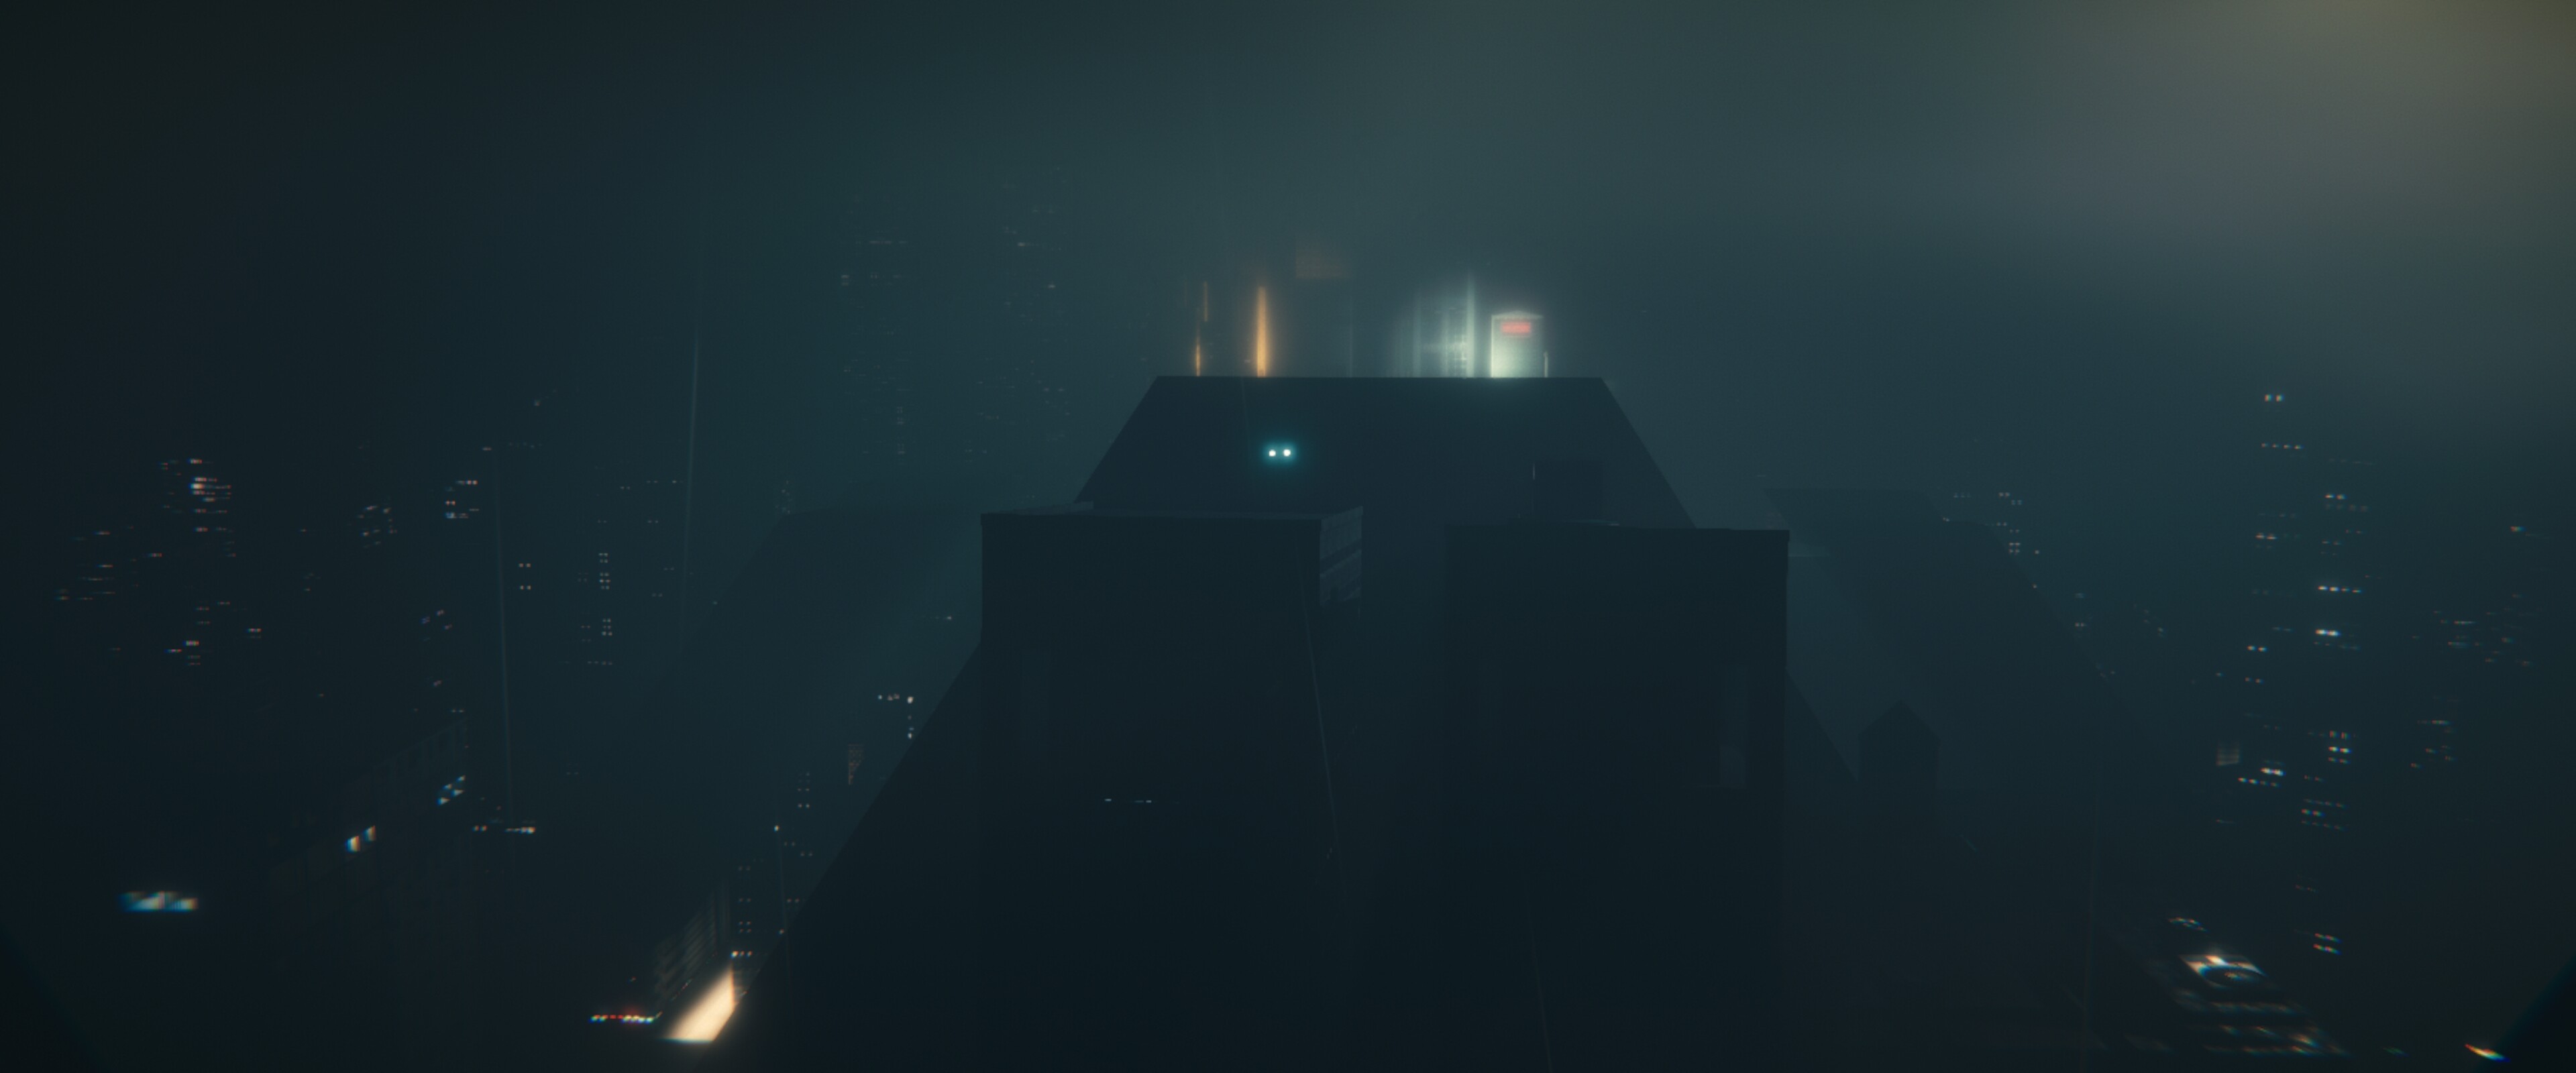
This was a first day of this challenge.

This scene was made by using CScape for Unity (for city), HX Volumetric Lights (for volumetric lighting) and Pro Builder for adittional models. Most time was used for tuning up lighting to match that one from a movie.
4 Likes
This was a second day of challenge

This scene was pretty easy - but it required some advanced shader work. ATARI logo was animated procedurally only with a shader.
6 Likes
This is a third day of challenge

In this scene it was pretty hard to get right lighting as it is GI based. So I’ve spent some time to tune it to match original scene. Hopefully, modelling was more than easy.
3 Likes
- day of challenge

This one was pretty challenging to make.
As my own Challenge rules say: “You can’t spend more than few hours for a scene” I had to be fast.
Ive made two characters with Mixamo Fuse… so they are somewhat thigs from a shelf as I didn’t have a time to make rigged characters (it would took me days to do this).
-I’ve made some ‘simple’ shaders for statues by using some old code of mine for subsurface scattering. But actually, it could work even without it. Light in this scene is such that it doesn’t show much of subsyurface scatter. But this could be usefull for some other angles.
-Most challenging were the glass shaders. I had to made some custom to meet my needs. Hew cubes with vertex colors on edges for each glass plane. Then I’m adding some different shading by lerping on vertex color base(colors on edges of a glass, and different colors on front and back side. Then I add some RT pass that sends a screen texture to my shader, and from then on, shader modifies this texture.
-You can see some light caustics on a wall. Those are only simple lights with custom cookies, and they are linked to general light.
6 Likes
Wow, your work is amazing! O.O
1 Like
My username approves. Great work!
1 Like
Really nice.
1 Like
Impressive, wow. These would do good on Twitter ![]()
1 Like
I’m stopping my work on this for few days. Even if a I wanted this to be everything realtime, but I also want to be able to get completely filmic look. Unity has much of a potential in doing this stuff, but as you all probably know, some things aren’t still possible with realtime graphics - mostly when dealing with depth of field, transparent surfaces and antialiasing. We can mostly approximate those things with post processing stack, but the output quality can’t be perfect, and you get always some kind of shimmer in motion. So I’ve started working on a Filmic renderer that is integrated into Unity and is able to output much greater quality image - that also looks like a real camera picture.
4 Likes
Are you using HDRP? What you have looks really good, but if you’ve run into something that isn’t quite giving you the effect you want, try it in HDRP. The render quality is SOOOO MUCH BETTER in HDRP. The lighting and color is noticeably miles ahead of the standard legacy pipeline.
1 Like
Tahnks for your suggestion - but I think that this isn’t my case.
HDRP is still way too limiting for certain things - and I see it only as a tech preview. in this stage of developement. And I’m pretty reluctant in using it for various reasons.
-Performance is still pretty bad - I have lost in certain situations as much as ten times performance. (seen scenes that went down from 300 fps to 30 fps) without any really noticable improvement in render quality. Overall, I like optimizing my scenes pretty much, but on HDRP it’s pretty hard to optimize further - overall impact of using HDRP is pretty high.
-It break compatibility with many custom shaders - and I’m mostly using all materials with my own custom shaders.
-It is still full of bugs.
-It lacks some features that I really need (SSR is one of them).
It has a potential but we still aren’t there.
And while HDRP improoves in some fields like shadows, lighting and AA, it still can’t do what I’m digging into with my custom renderer.
As for my rendering solution, is solves some problems that can’t still be solved with image effects approach. Mostly, pboblems with fighly detailed scenes where some elements are smaller than a pixel (for example city lights) - if you look into first image sequence that I’ve posted, you will notice that city lights are shimmering as camera moves. This is something that happens even with real digital cameras - but it doesn’t happen with cinema cameras.
2 Likes
I would be rather curious to see how you approach this, like a dev vlog on youtube, I think it could be very popular!
2 Likes
You are probably right, and eventually I might make a breakdown once finished.
3 Likes
OK, my new renderer is finished. I’m really satisfied about how it works - I think that I’ve managed to get it to behave as a real-world cinema camera. Finally my motion looks how it should and there aren’t any nasty aliasing issues. Even if next clip uses 24 fps, motion looks smooth and natural. (shaky camera is there because I wanted to test how shakiness influences motion).
5 Likes
First scene re-rendered with my new rendering system.
5 Likes
Very Nice ![]()
1 Like
Get a whole team together and make a new blade runner movie ![]()
2 Likes
Oh man, CScape + this rendering system…
2 Likes
I hope that you don’t mind, but I named this rendering system Deckard Rendering. It was partially inspired by your post ![]()
3 Likes