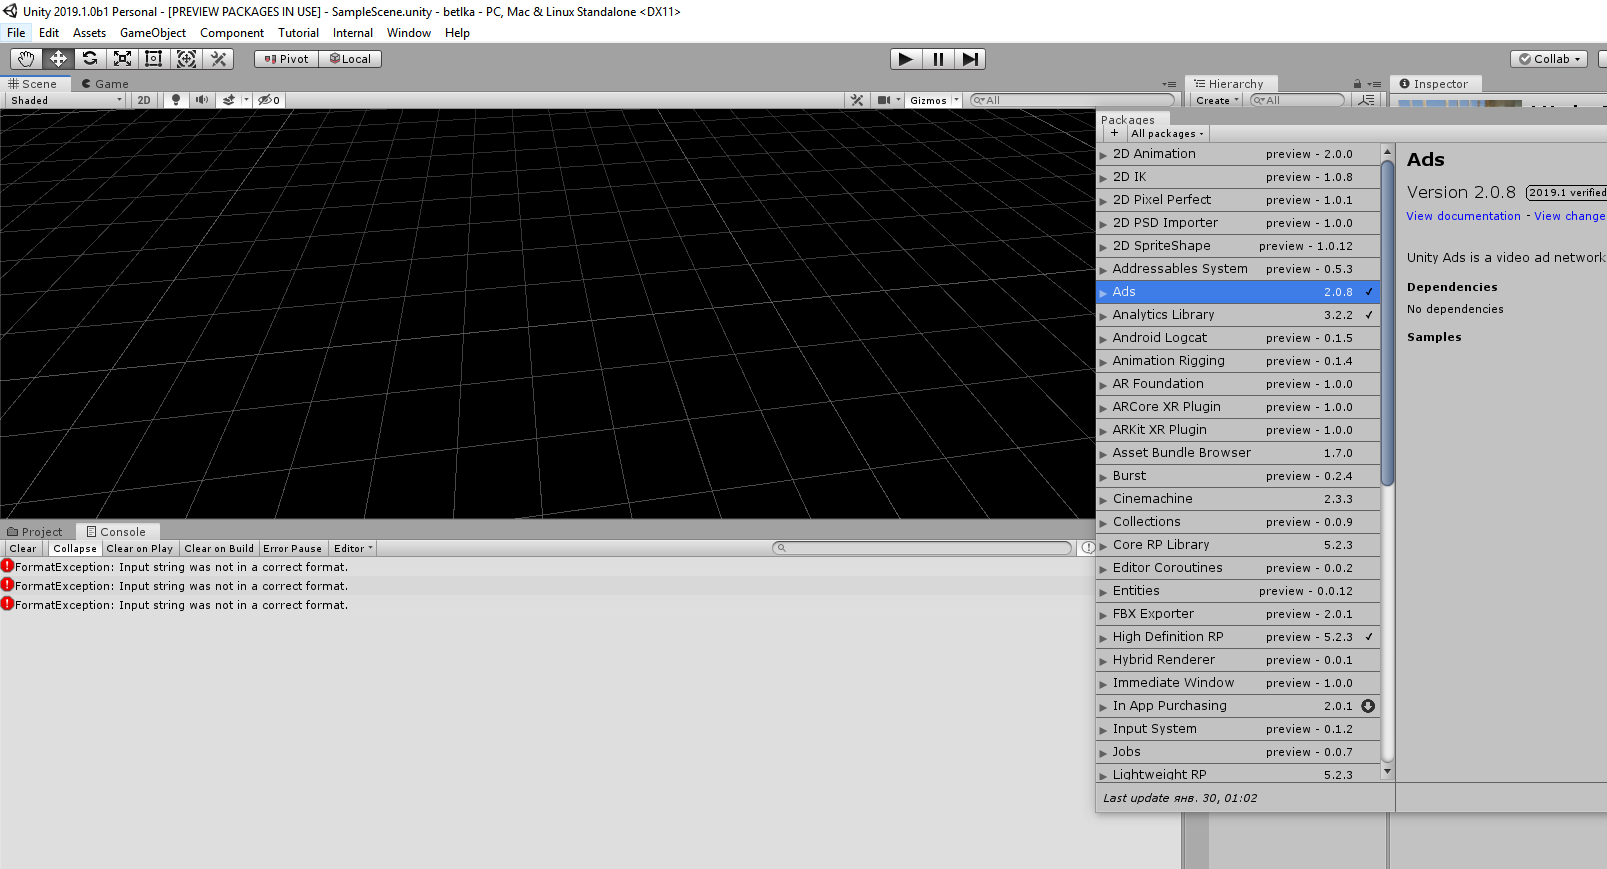
Could be early impressions but I don’t really like how the new HDRP bloom filter unsharpens the whole image. I know the new filter is supposed to be more physically accurate but I struggle to find proper use for it as is.
It can look “passable” with really modest values but it still makes the whole image worse even in places where bloom effect wasn’t needed. Only when you dial down the intensity down to 0.1, it doesn’t notably destroy the sharpness elsewhere. Basically the intensity applies this constant blur effect almost in linear fashion on over the whole frame. So obviously the “unsharpen/blur” effect it creates at max value is less noticeable on lesser values.
To demonstrate this, here’s gif with different bloom intensities with default scatter value of 0.7:
here’s the intensity 0.0 and 0.5 with scatter value of 0.7 zoomed in to 250%:
Old setup let you control the glow effect way easier without blurring the whole image, is there anything that could be done to improve this aspect on PPv3?
PS. for people wondering about 5.3.0, it’s currently on github and staging.
Can’t test at the moment but any kind of bloom that’s fuzzy like that is a major turn off for us. We would simply disable it as we use bloom to draw attention to things that must glow.
I think regarding V3 you have to have way more intensity in the scene as V3 + GI are being upgraded to support correct physical lighting values so perhaps that’s the problem here.
Bloom is the first thing I turn off in every game I buy. It never looks good and just ruins everything. But that isn’t even bloom, that’s some kind of global fog.
I also now found the advanced button for the settings I initially missed. It doesn’t really change much here, but it did reveal that the bloom filtering is done in half resolution by default and there’s only option to toggle it between half and quarter.
I’ve fiddled around with the settings and the bloom I’d want from highly emissive materials (and you do need to put high emission value for this bloom new filter to show any glow) looks about right around 0.2-0.3 intensity on bloom filter, with scattering on 0.4-0.6. But 0.3 already makes whole image fuzzy and it affects notable the quality even with 0.2. If I don’t care about emissive glow effect, I can get acceptable looks for bright lights by using 0.1 intensity and 0.4-0.6 scattering but that does really modest glow effect on emissive materials.
Edit: when at 0.1 intensity, making the emissive materials even way more emissive kinda helps, but you have to go past 150x which is kind of in the totally different ballpark from what we’ve used to using. Is this really how it should work?
You need to raise all the light strength etc by 100x I think, not sure on precise values, then have exposure bring that back down to reasonable levels before applying bloom.
Yeah I think so too, I already need to do it on emissive to get any kind of nice effect. It does make the bloom itself dictate how you setup your scene lighting though and that’s not really something I like. I’d rather have it work as true postprocessing filter that one can tweak after everything is first tuned without it.
Having more dependencies on PP effects to work nicely is not going to be fun for people who are setting up the lighting and materials.
I tried this, you can’t put huge lux values for directional light but you can use real world lumen values for spotlight for example. HD Templates spotlights are really weak and lumen values seem to reflect quite nicely what you’d expect from similar real world lumen lights (so you can use real world values for these).
Upping the light values didn’t really change what I observed with the new Bloom filter though, it still makes everything fuzzy at higher intensity than 0.1.
No, the current light values in unity are 100x too dim… we are talking about using real light values. This is part of the work Unity is doing with V3 + 2019.1+ HDRP.
This is partly why everyone is going to have to redo their lighting for HDRP… they did several workarounds in FPS sample, exposure etc.
Yea, Lighting and Post processing will go hand in hand now with Post V3 and HDRP 5.3.0 forward. There’s a good GDC talk on this by a developer on Mirrors Edge Catalyst using Frostbite. He also talks about how they scaled down the lighting and post-processing from real world values. (So exposure from interior and exterior isn’t too bright)
Plus not every game is realistic (mine is not) however I do prefer to work from ground truth toward the stylised result as the consistency will be kept.
Ok so, it took some fiddling and help from fellow Unity users but we got the high intensity lights working. One issue with them is just the procedural sky’s sun disc, after disabling that and using exposure control, things got back to looking normal, but I don’t really see any positive effects from using the higher intensity atm though as visually it looks pretty same to me.
As for bloom itself, I’ve come to conclusion that you are not supposed to use more than 0.1-0.2 for the filter, anything else and whole image goes to just fuzzy and is notably less sharp, but I think that’s ok as you can make this work at 0.1.
As for emissive materials, using Exposure weight (from the HD Lit shader) helped on getting the glowy look with smaller intensity values.
I think really it makes more sense when a studio wants to use actual LUX from ground level or correctly plug in lighting and see a very similar to real world result. A studio using say, stacklit and this approach can easily do cheap film or tv series special effects on a shoestring budget and with VFX editor will likely become a tool servicing film industry or even automotive industries.
For game indie devs using a physical camera and this stuff might seem bewildering I guess… assuming this isn’t bugged.
Regarding the procedural sky, it tended to break my image a lot, so I’m not sure what’s happening there…
It’s automatically built into HDRP. Remember, you never needed to install V2 either (this was also auto pulled in by HDRP previously).
If you did then it had no effect
The only package you actually need for HDRP is actually only HDRP. You don’t need SRP. You don’t need Post. These are for developers of new kinds of SRP/Post, not for people who are using the post effects.
It’s on HDRP 5.3.0 and 5.3.1 atm. 5.3.1 is on github and on staging but not at regular registry yet (would expect it to appear there soon). Meanwhile you can try it on 2019.1.0a14 or new 2019.1.0b1 with following on your projects manifest: