Update: a new beta version of the Hub has rolled out and you can learn about it here
Howdy everyone, I wanted to take a moment to clarify a few points about the changes we’ve been rolling out to ensure we’re being as transparent as possible and provide some insight into the intention behind these updates.
Whether it’s understanding how players engage with your game, identifying performance bottlenecks, or spotting issues before they escalate, having access to accurate and actionable data is critical in modern game development.
That’s why we’ve added new and improved diagnostics tools, tools that are intended to give you better insights into how your games are performing. You can read more about that here. Access to project data is also a critical component to making Unity faster and more stable, and enabling us to roll out fixes as quickly as possible. Right now, we’re relying on our users to report issues to us to be fixed, and that just doesn’t scale. We want to be able to do better. Relying on diagnostic data will enable us to:
- Identify Issues at Scale: With thousands of developers working on millions of projects, it’s impossible to anticipate every possible combination of workflows, platforms, and use cases. Diagnostic data helps us identify recurring issues that may not surface during internal testing but are causing friction for developers in the real world.
- Fix Faster: Without diagnostic data, our ability to address engine bugs and performance issues is slowed significantly. It’s like trying to fix a car without being able to look under the hood. By understanding how the engine performs in real-world scenarios, we can prioritize fixes and roll them out faster to ensure your projects stay on track.
- Optimize Proactively: Diagnostic data doesn’t just help us fix problems - it helps us identify opportunities for optimization. For example, we can track trends in how developers are using certain features and ensure those features are as efficient and robust as possible.
- Stay Ahead of the Curve: The game development landscape is always evolving, and new challenges arise as platforms, hardware, and player expectations change. Diagnostic data allows us to adapt quickly and ensure the Unity engine remains a cutting-edge tool for your projects.
This is not about tracking users or individual projects - it’s about understanding the bigger picture so we can deliver the stability, speed, and reliability you need. And to make sure you stay in control, we also introduced the Developer Data Framework - a system designed to make data collection more transparent and give you the ability to manage these settings directly.
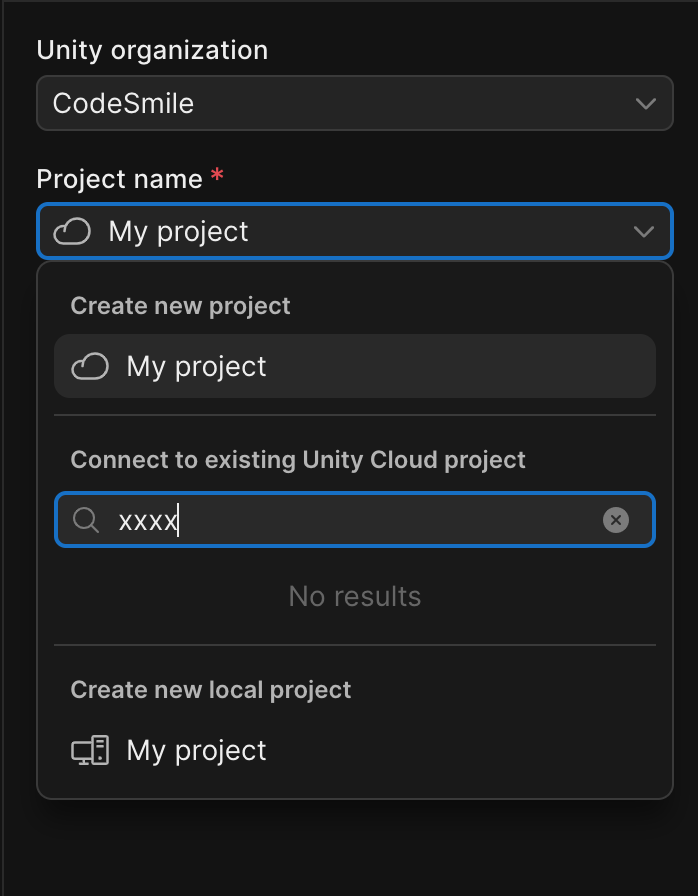
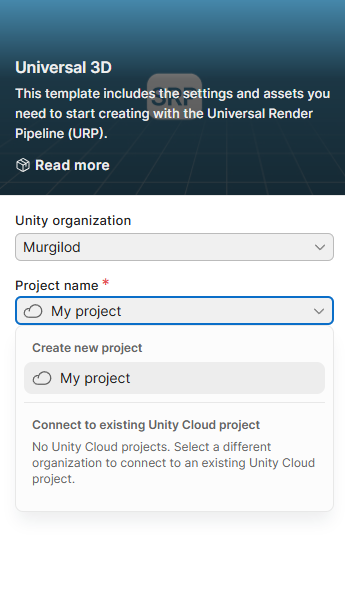
Automatic Project Linking and Cloud IDs
To support these new features, we made a change in the Unity Hub to automatically link projects to Cloud IDs so that they could be managed through the Dashboard. The intention here was to make it easier for you to access the new diagnostics and data tools, and allow us to continue development with the assumption that all projects going forward would automatically have a Cloud ID, so there was no need for additional checks, dialogs, or workflows. Many of you felt surprised by this change, and some didn’t like it. For now we’ve reverted the change (though the UI is a little bit different now) while we consider the best way to surface these controls. To be clear, we remain committed to the concept of cloud connectivity for all the reasons outlined above, but appreciate the dialogue and a bit more time to work through the details. For example, we’ve made one immediate improvement: The inability to delete cloud projects without contacting support or jumping through hoops is clearly suboptimal. You’ve been asking for this feature for a long time, and we’re happy to say it’s finally here. Starting today, owners and managers in your organization can delete projects directly from the Unity Dashboard - no support tickets needed.
How to Try The Delete Cloud Projects Feature Out
- Log into the Unity Dashboard as an owner or manager.
- Select the project you want to delete and go to its settings. First, archive the project.
- Navigate to the Archived Projects tab, click Delete, and confirm the operation.
- And that’s it - you’re in control.
Why the Extra Steps?
We want to make project deletion simple - but also safe. Here’s why we require you to archive a project before deleting it:
- Preventing Mistakes: Deleting a project is irreversible. If it’s a production project with live apps or critical data, the consequences of accidental deletion could be severe. Archiving first creates a buffer to help prevent those mistakes.
- System Harmony: Archiving ensures that all Unity services connected to your project (like UVCS or other backend systems) can process the change properly. This step helps avoid disruptions or data inconsistencies.
We know this might feel like an extra step, but it’s a safeguard to protect your work while we continue improving the system.
Important Notes:
- If your project has an associated Asset Manager project with at least one asset, you won’t be able to delete it just yet. You’ll see a message explaining why. We’re working on full integration with Asset Manager, and it’s scheduled for release by the end of the year.
- This feature is rolling out gradually but should be available to everyone by the end of the weekend.
Moving Forward
Thank you for your patience and for being a part of this incredible community. If you have any questions, concerns, or suggestions, please don’t hesitate to share them here.